This is a rough outline of things I do most games as support. If you are clueless about how to play support then following this will set you on the right path. After you do it a few times you'll start to work out what is going on, and should diverge off it as you see fit. This is for hard support, i.e. farm position 5.
Farm priority is a system to designate who gets farm when more than one player is in the same place.
Each player has a number: the lowest number gets the farm. So 1 is the hard carry in the
safe lane, 2 is mid, 3 is the offlane or jungle, 4 and 5 are typically
supports. The 4 saves up and gets Mek, while the 5 buys wards.
Start items I buy for practically every support hero is: Courier, Wards, Tango, Salve, Clarity.
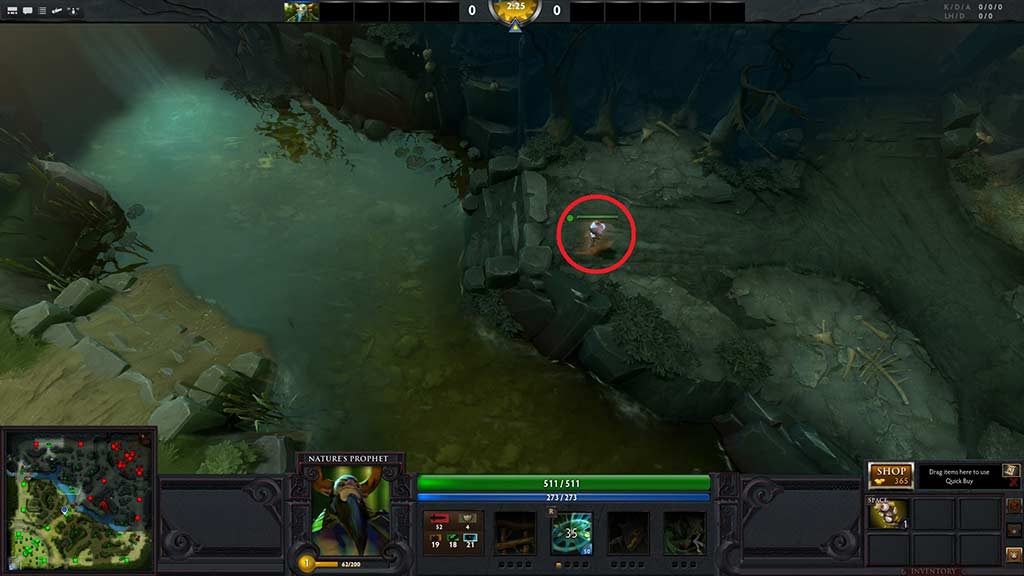
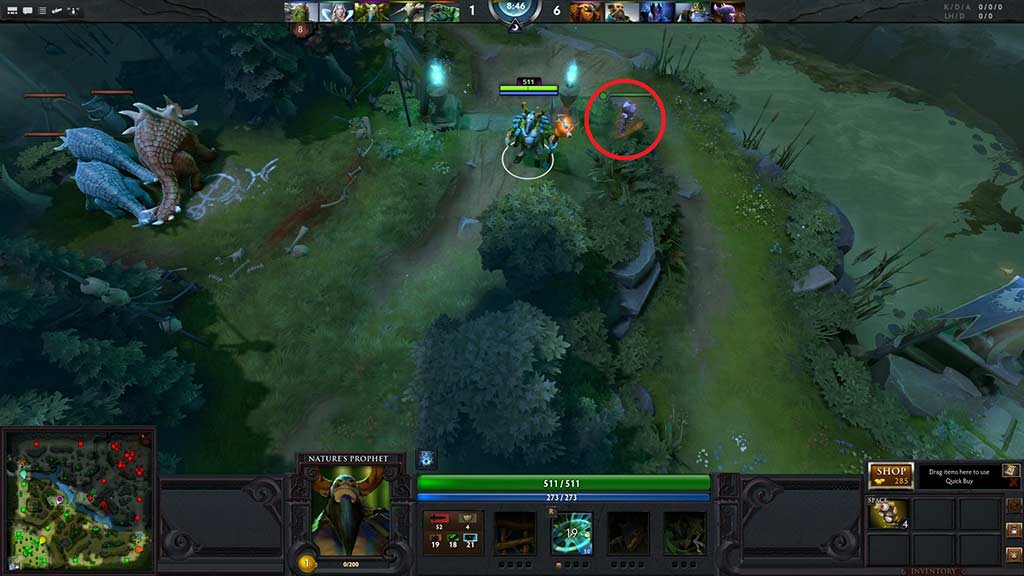
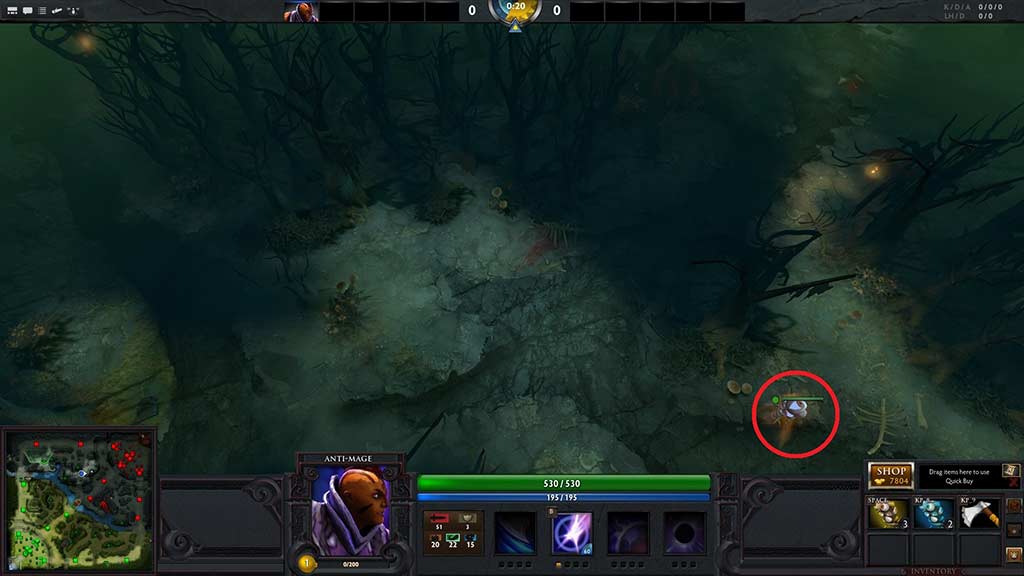
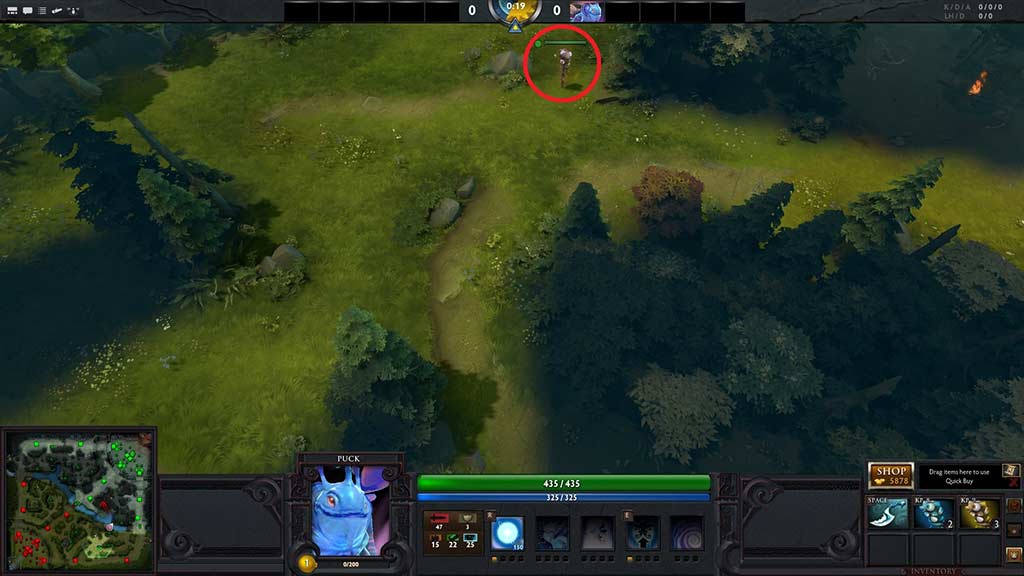
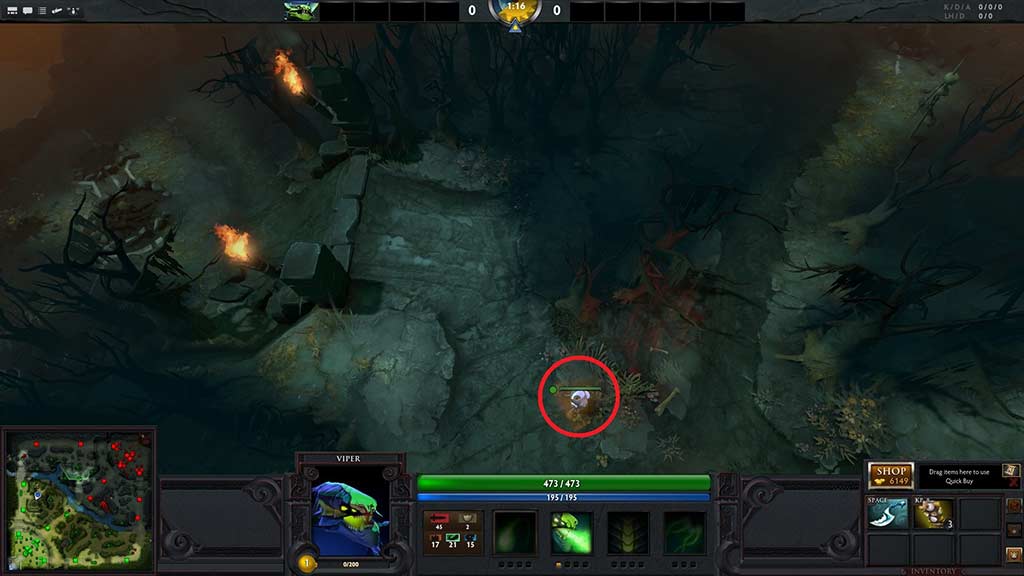
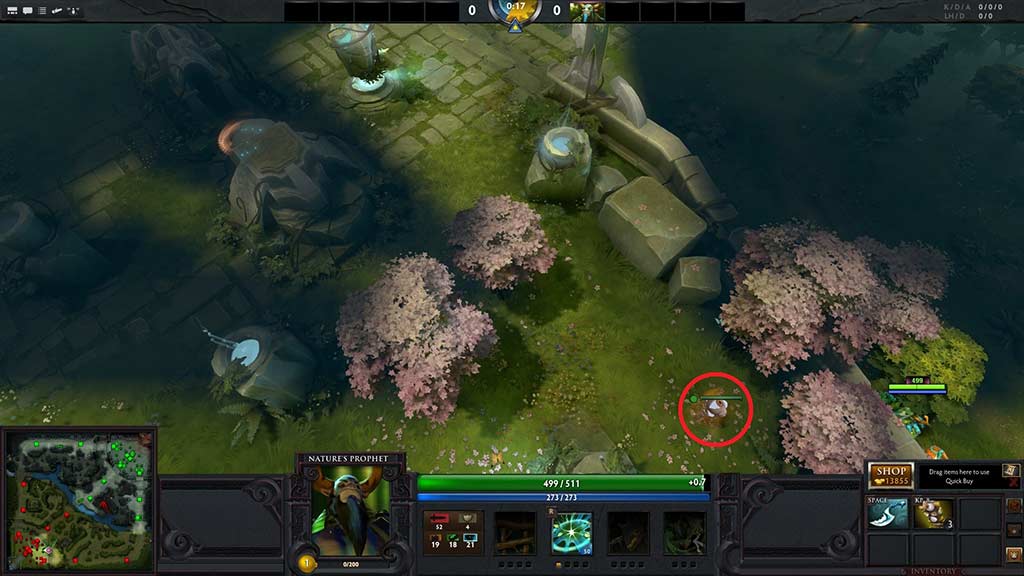
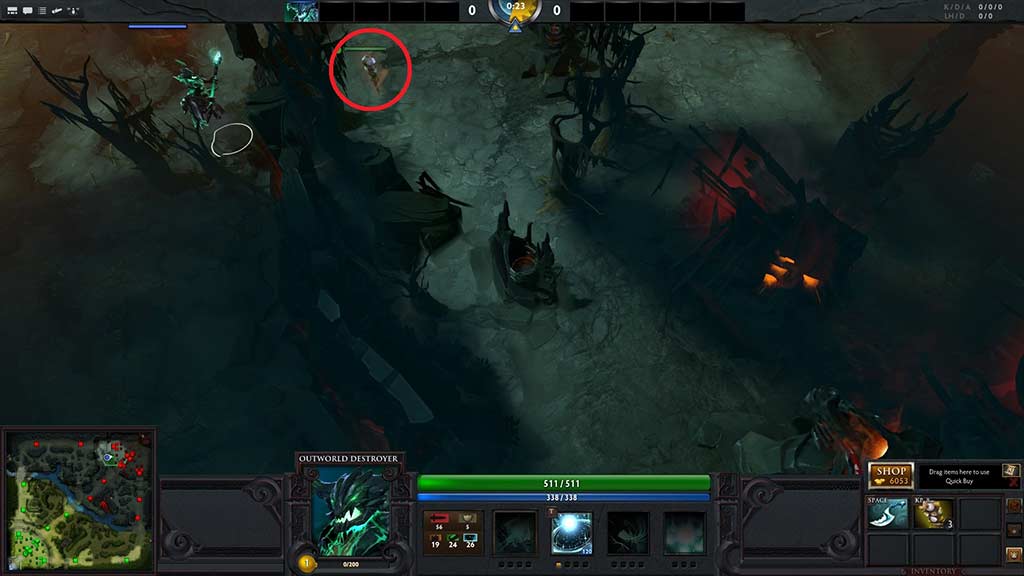
At the beginning of the game, go ward enemy side of mid. For Radiant this is just above the ramp leading to top rune, for Dire it's the spot next to Ancients. These spots will give vision on the top rune as well as help your mid tremendously, especially if they are playing as or against Pudge.
 |
| Ward here if you're Radiant... |
|
 |
| ...or here if you're Dire. |
|
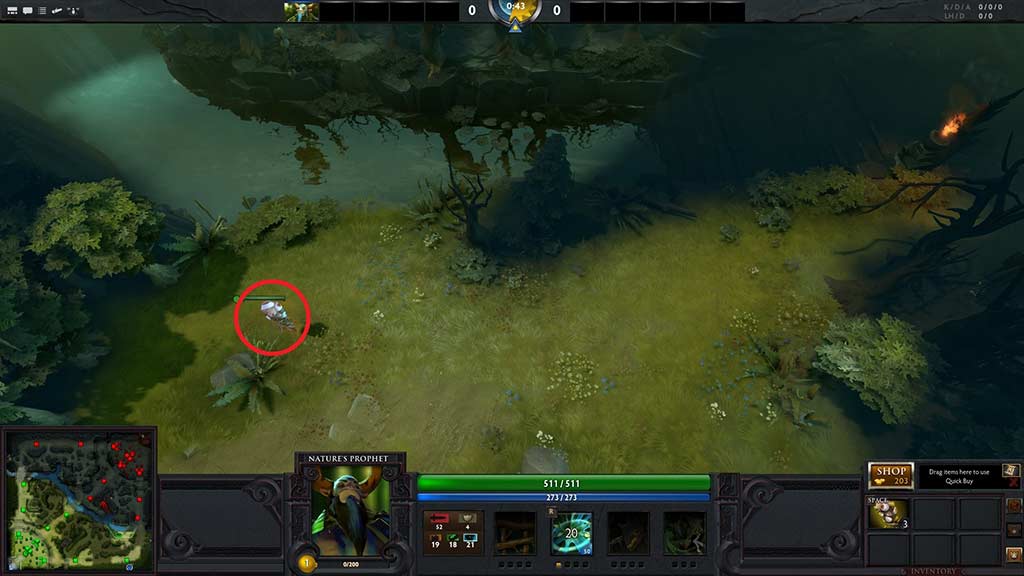
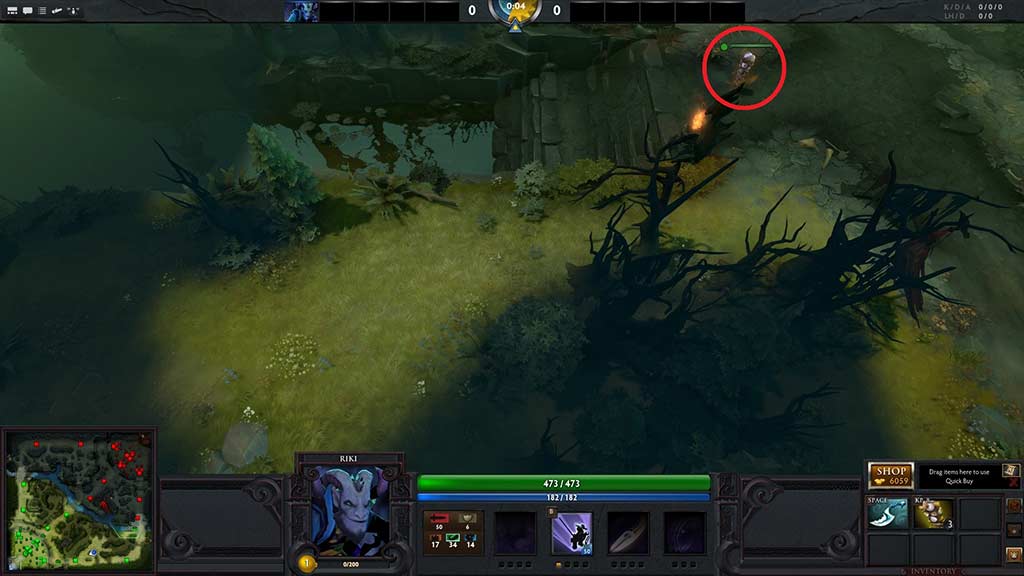
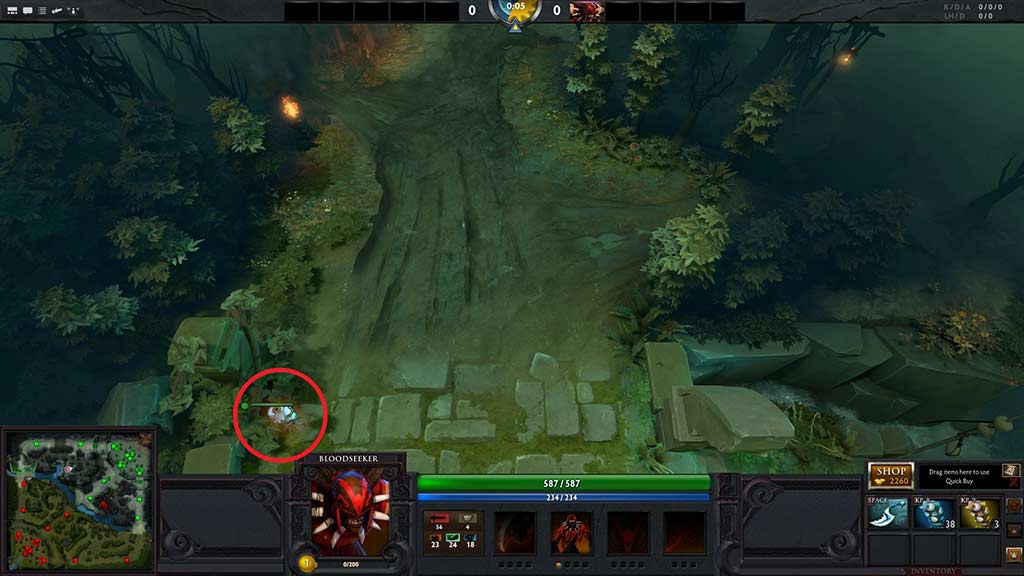
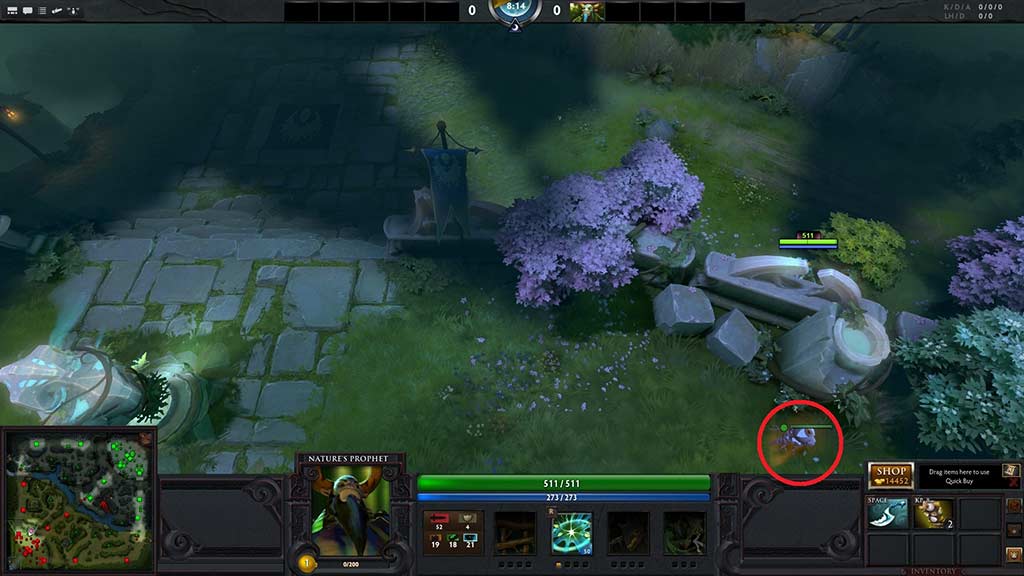
If on Radiant ward the spot to the right of the medium camp next to the river that gives
rune vision, or maybe a lane-ward instead (just on the ramp down to
river, below enemy tower).
 |
This spot will protect your safe lane
and give vision on bot Rune. |
|
 |
While this one will give vision on the enemy
offlane and warn of incoming TPs. |
|
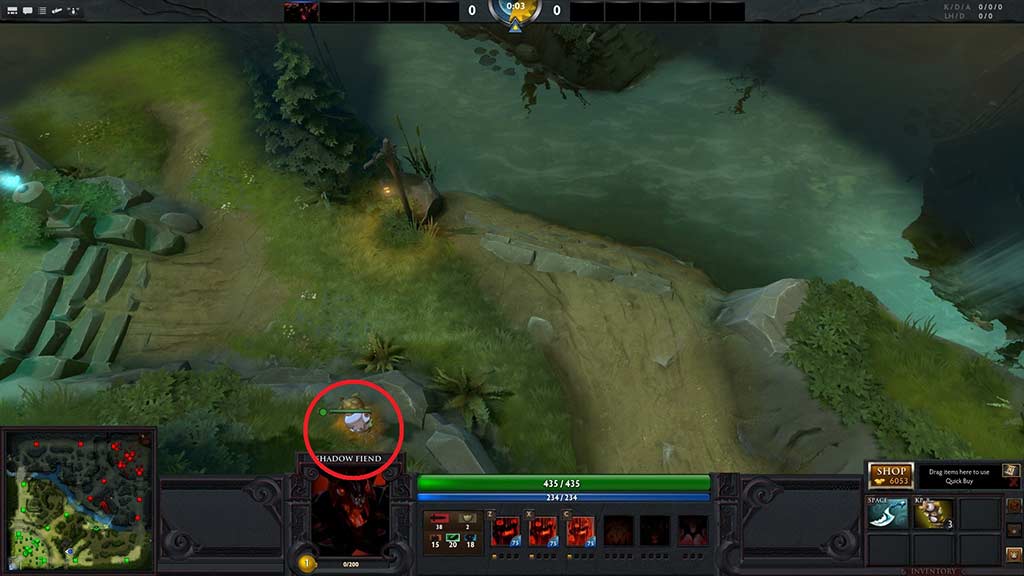
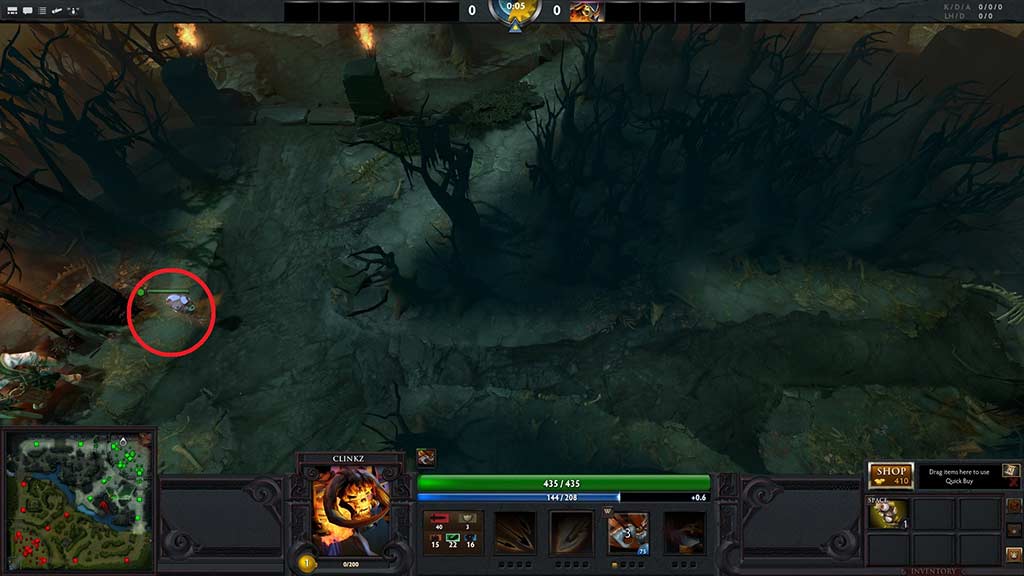
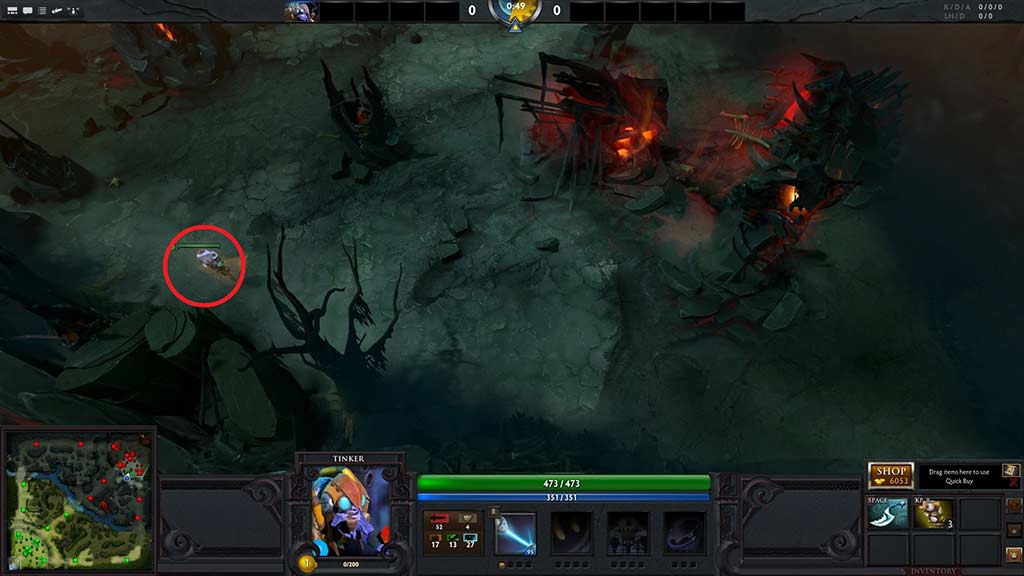
If on Dire ward to the right of the left large camp, which blocks it (to stop Radiant pulling it) and gives you vision of incoming ganks, or alternatively (again) a lane ward.
 |
| Eat the tree to enhance vision. |
|
 |
| Dire equivalent of Radiant lane ward above. |
|
At 3 mins upgrade the courier. From then on you can worry about what you're gonna buy. You should be buying Observer wards whenever they come off cooldown. The first set you buy after the game starts can either go where the original wards went, replacing them, or you can progress to more central wards. Usually this means somewhere with vision of the Rosh pit entrance, and somewhere with vision mid. Warding the entrances to your jungle are also good. I tend to ward aggressively, i.e. I'll put the ward on the enemy side of the river. This is a little dangerous (if you get caught you'll die).
Typical spots for Radiant:
Above the ramp leading from Rosh pit to dire mid T1. About 300 units from the start of the
ramp, middle of the path. This spot can't be seen by the usual rune-spot deward sentry. Mid I usually put it in the same spot I'd have used earlier: just above the ramp leading from dire mid T1 to top rune.
 |
| Rosh pit vision that's hard to deward. |
|
|
| This one looks familiar... |
|
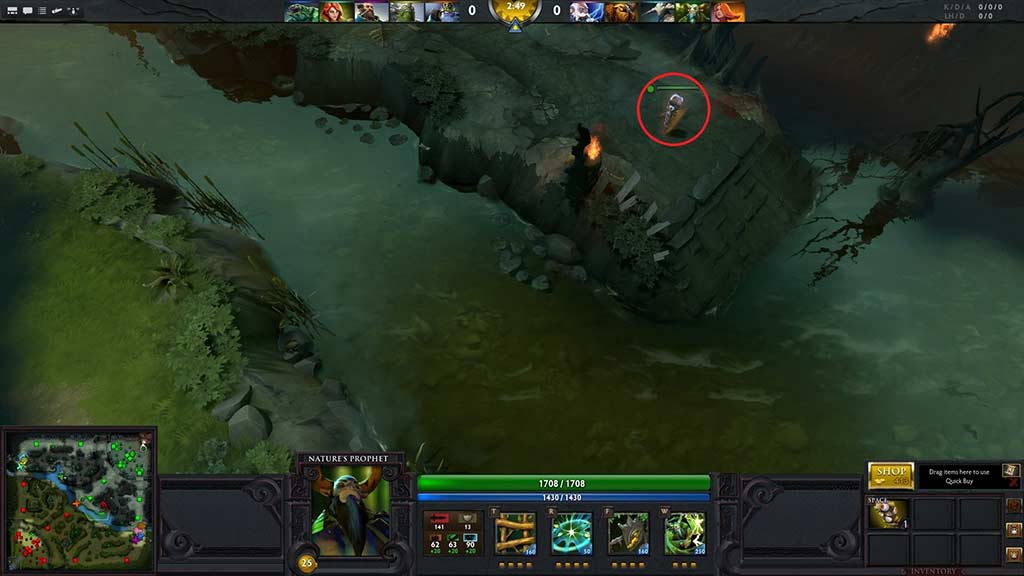
For dire:
For Rosh pit I usually use the turtle spot. For mid it's the rune spot to the right of Radiant Ancients.
 |
| The turtle spot. |
|
|
| So does this one... |
|
If you want to play less aggressively and use the normal, safe ward spots, swap those over, Dire for Radiant and Radiant for Dire.
Ideally
you'll be able to grab some farm by stacking & pulling or chain
pulling. The theory is that having good ward coverage will allow you to
take good fights, and you'll get gold from those. Early pick-ups to
squeeze between wards: Brown Boots, Stick (possibly into Wand, though
naked Stick is generally fine), Sage's Mask (can be made into Urn or Eul's). You might want to pick up Stick before Boots if they have a spammy
lineup against you.
After that start working toward actual boots. In a
game that's going well that's easy. In a game that's tight or going
badly you might be stuck on Brown Boots for the duration: that's fine;
just keep buying those wards.
After that your items are more hero dependent. Urn is good
for mana, gives you a great ability for fights, and is dirt cheap.
Alternatively Drums will also give you good mana and will beef you up
decently, but are a bit pricier. Another option would be Soul Ring, but I like it less than Urn.
Then I'll almost always go Force Staff. IT'S THE BEST ITEM IN THE
GAME. Apart from all the awesome stuff you can do with it, it also
gives you a much needed escape mechanism; as a support you'll tend to
(a) not have one by default and (b) be squishy as hell. As the 5 you won't generally be buying Mek - that's usually for the 4 (or even the 3).
As towers fall your ward spots move. After the Radiant T1 bot
tower has fallen I like to ward the lower junction below the large
camp, just down-left of the magic bush. Gives you good vision for
defending/attacking the T2. For mid, once T1 goes the Ancient spot is
still good, but you now also want a hill ward. Another good spot is
above the ramp toward ancients just next to the T2. If you want to ward top then the junction into the
secret shop from top lane is pretty good, or the junction to secret shop
itself, but mid and bot are usually where vision will aide you more.
 |
| After Radian bot T1 falls. |
|
 |
| After Radiant mid T1 falls. |
|
On dire side, for attacking/defending the top T2 the hill is
great. Also good is having one somewhere in the jungle left of their
mid T2 (espec after mid T1 has fallen). Atop the steps leading from
dire secret shop to mid is good, as is the spot below that, just above
the steps leading down to dire ancients.
 |
| After Dire top T1 falls. |
|
 |
| After Dire mid T1 falls. |
|
Later on you should try to be carrying wards with you: they
are great for attacking highground into the enemy base. You can run up
to the base wall, mid-way between two lanes, and put a ward inside the
base above you (if you get it in the right place). It won't be seen by
towers. It will get dewarded if they see you doing it, but it can be
worth it even if it only gives you 10s of vision. Dropping a ward where
the T3 was after it's destroyed is also good.
 |
| Between top and mid |
|
 |
| Between mid and bot. |
|
 |
| Between top and mid. |
|
 |
| Between mid and bot. |
|
If you're doing well you'll be needing more items, but at that
point it's usually situational. Eul's is great if you want to be more
mobile and have another disable. Ghost Scepter is relatively cheap and can greatly increase your survivability. Agh's depends on the hero, but has a
solid build-up and could be worth it. Necrobook is great. Scythe is
amazing but usually you'll need to be stomping to get that.
If the enemy have an annoying invis hero (or multiple) it's
also a good idea, once your tank has bulked up a bit,
to buy them a Gem. You should of course be buying sentries and Dust earlier on, squeezed between wards, though other players helping to buy those will help a lot.
I've not covered Smoke or dewarding; this is the quick and dirty primer, and they are more advanced tactics. Q&D though; smoke your team to get to Rosh without being seen, or to get to the enemy team with surprise on your side. Dewarding: keep an eye on enemy supports, pretend you're them and imagine where you'd put the ward, then put a sentry near it.
Once you've got used to warding, read up on pretty much every spot available in the
Dota 2: Ultimate Guide to Warding. Then you can read
this.


No comments:
Post a Comment